Sunday 24 November 2013

Digital Visualization process / Group Crit

Digital Visualization process

In order to be able to finish my digital visualisation. I checked all the screens and look at the different interactions. Then I choose the more relevant. I don't wanted my video to be to long.

I prepared on After effect every page separated, I found then easy to put all together in the final outcome.


Group Crit 27/11/13


I presented my Storyboard and explained the different parts that it contained. I've got some feedback and this is my Action Plan:

  • Improve compass contrast.
  • Blur background video during story.
  • Put the sound of the picture taken.
  • Update the text between the transition, find an enlarge Typeface. Make the main title bigger and add an effect.  Move the text at the back of the video to the front.
  • Make the iPad Zoom in during the story. Look at the dead body closer.
  • Review of tempo and pace.  Make the iPad move, Pan view make it quicker.
  • Check Transition times, leave more space after an interaction occur before transition.
  • Low the volume of the ambience sound and mixed with the audio of the Story.

Final version


Tuesday 19 November 2013

Digital Visualization - After effects

Digital Visualization - After effects

Setting up

I was trying to setup After effects in order o use my assets from Illustrator:
 
Test 1 Set up

The I import the illustrator files, but this message appear and AE crash


 Then I tried to import 'Merge layer options' and this is the result.


 I researched on Adobe Help... and in one of the Tutorial it said that After Effects cannot handle opacity or glow from Illustrator.


I'm going to try to import a single object with no effect to see what happen...

So, I made an Illustrator file with a circle, a  image and a square, and not problem to imported.


Now I would try to move my assets to Photoshop and try to pass them to photoshop. I would export my illustrator files to photoshop.


TIP: Make the Photoshop file the same size as the Illustrator file, and Also save the whole page so the elements can be located in the precise place where the should be, when working with After effects.


So I would need to plan what I'm going to show into the Visualization so I start to copy my assets to Photoshop and then to after effects. 

Now Test the outcome...

First Example rendered to:


Second Example:


Even though the Quick time is larger, the H.264 looks better. It doesn't make sense as the Quicktime is a bigger file.   I'm not sure how is going to look big screen.


Monday 18 November 2013

Digital Visualization Sound

Digital Visualization Audio/Sound

I would use 'Preview' option to generate audio for my piece.
  1. Transform text document into PDF.
  2. Open in Preview.
  3. Highlight the text.
  4. Choose Services ->  iTunes
  5. In the box, choose Voice and Title.
  6. The file would be save into iTunes.
  7. Open iTunes
  8. Find the file -> Right Click -> Get Info, and populate details.
I've got troubles to record my own voice, but with these simple steps I can create the voice to read my subtitles.

Also I visited this pages to download open source sound.

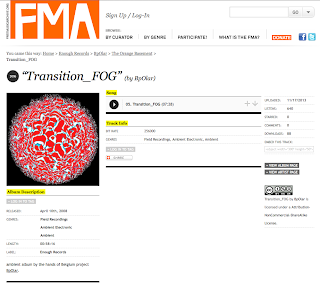
http://freemusicarchive.org

http://www.freesound.org/people/jobro/sounds/87136/


For the Story I took an Audio from the DVD 


Friday 15 November 2013

Film in London 16/11/13

Film in London 16/11/13

Equipment: 

  • Digital Camera Lenses
  • Tripod
  • Memory cards (min 4GB)
  • Batteries
  • Maps
  • Pictures
  • iPad

Plan:

  • Check Camera' batteries
  • Check Memories' cards
  • Prepare camera
  • Buy Tickets train online
  • Travel to London Victoria
  • Take Underground until Whitechapel station
  • Look POI on Map
  • Take 360 and Pictures on every location

  • Pictures and 360 Panorama outside of the station

  • Go to Durward St and take 360 Panorama


  • Go to Hanbury St Take 360 Panorama
  • Take a video from the front for Augmented reality 


  • Go to Ten Bells
  • Take pictures and 360 Panorama


View from Brushfield street

  • Go to old Dorset Street between brush field street and Whites Rd.
  • Take 360 Panorama/Pictures


  • Go to Goulston street.
  • Take 360 Panorama/Pictures


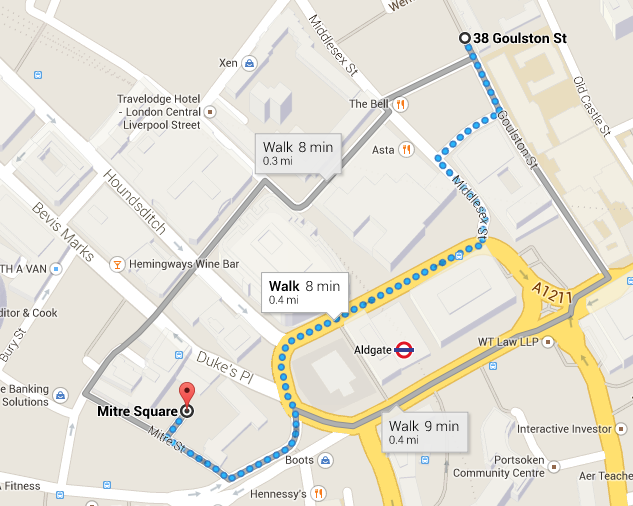
  • Go to Mitre square
  • Take 360 Panorama/Pictures


  • Go to Henriques St/ Berner St
  • Take 360 Panorama/Pictures


Results:

Some of the pictures I took.

Problems: 
  • The first site was not accessible, so I had to find the Angle to take the picture. 
  • The second point were I though about take the video for the visualisation was a busy road, so I took about 20 min video to find the less busy moment to use it.  On my first shot I didn't correct the distance of the lens and the video looked to close so I adjusted.
  • The first panoramic pictures didn't result well, as I didn't know how to retake,  The finals ones were better.
Pictures: 
  • Iconic places and walls, houses and pavement to use for the illustrations